

Contact paper countertops—also known as peel-and-stick countertops—are a simple, budget-friendly way to give your kitchen or bathroom a fresh new look without going through the hassle of a full renovation.
Sold by the roll and easy to cut to size, contact paper features a decorative pattern (or a solid color) on one side and adhesive on the other, making it a go-to material for quick DIY upgrades. It can be applied to a range of surfaces and removed later with minimal fuss, making it perfect for renters or anyone who wants to try out a bold color or pattern without fully committing. Options range from sleek, solid colors to designs that mimic the look of natural materials like marble, granite, and wood.
Below, we break down what to know before applying contact paper to your countertops, along with tips for installation, care, and long-term success.
It’s Affordable
Contact paper is one of the cheapest ways to refresh tired countertops, making it ideal for budget-conscious DIYers.
Easy to Apply
Most options are peel-and-stick and don’t require any special tools. All you do is measure, cut, and smooth into place.
Not a Permanent Change
One of the biggest perks is that contact paper isn’t forever. It’s a great way to test out a new style or hide outdated counters without committing long term. It can be safely removed from most surfaces—like wood, laminate, quartz, and granite—without damage when done carefully.
Style Options are Endless
From minimalist solids to high-end marble and granite lookalikes, contact paper makes it easy to try a new look without a full kitchen remodel.
Durability can vary quite a bit depending on the quality of the contact paper you choose. Some options hold up well to everyday use, while others may show wear quickly. One of the most popular and reliable brands is d-c-fix, which offers a heat-resistant surface (up to 170°F) and water resistance—meaning you can clean it like a typical kitchen counter without worry. Just don’t place hot pots or pans directly on the surface.
Still, contact paper isn’t meant to compete with long-term countertop materials like granite or quartz. It can peel at the edges, bubble, or tear if scraped or cut. For that reason, it’s best used as a temporary solution—great for rentals, short-term fixes, or as a stopgap while you plan a more permanent renovation.

Before diving into this easy DIY project, there are a few key things to keep in mind that can help ensure a smoother application and better results.
Buy More Than You Think You’ll Need
Once you’ve measured your counters, definitely get a little extra contact paper to account for mistakes, pattern matching, and full edge coverage. Some users also wrap the material around the sides and overhangs for a cleaner, more finished look, so be sure to include those areas in your measurements.
Use the Right Tools
To install contact paper, you’ll need a few basic supplies: sharp scissors or a craft knife (the sharper the better for clean lines), a smoothing tool (like a plastic scraper or even a credit card), and a hairdryer to help soften the countertop adhesive and remove air bubbles. Having these on hand before you start will make the process much easier.
Consider Long-Term Care
Although contact paper is water-resistant, it’s not completely waterproof or scratch-proof. Avoid using abrasive cleaners or scrubbing pads, and always use cutting boards and trivets to protect the surface. Regular wiping with a soft cloth and gentle cleaner will help extend its life.
Taking time to prep and plan before applying the paper can make a big difference in both the appearance and longevity of the finished result.
Applying contact paper is a beginner-friendly DIY, but prep and patience go a long way toward getting smooth, lasting results. Here’s how to do it:
1. Measure Your Counters
Carefully measure all the surfaces you plan to cover, including edges and any overhangs. Cut the contact paper slightly larger than needed (you can trim excess once it’s applied for a cleaner look).
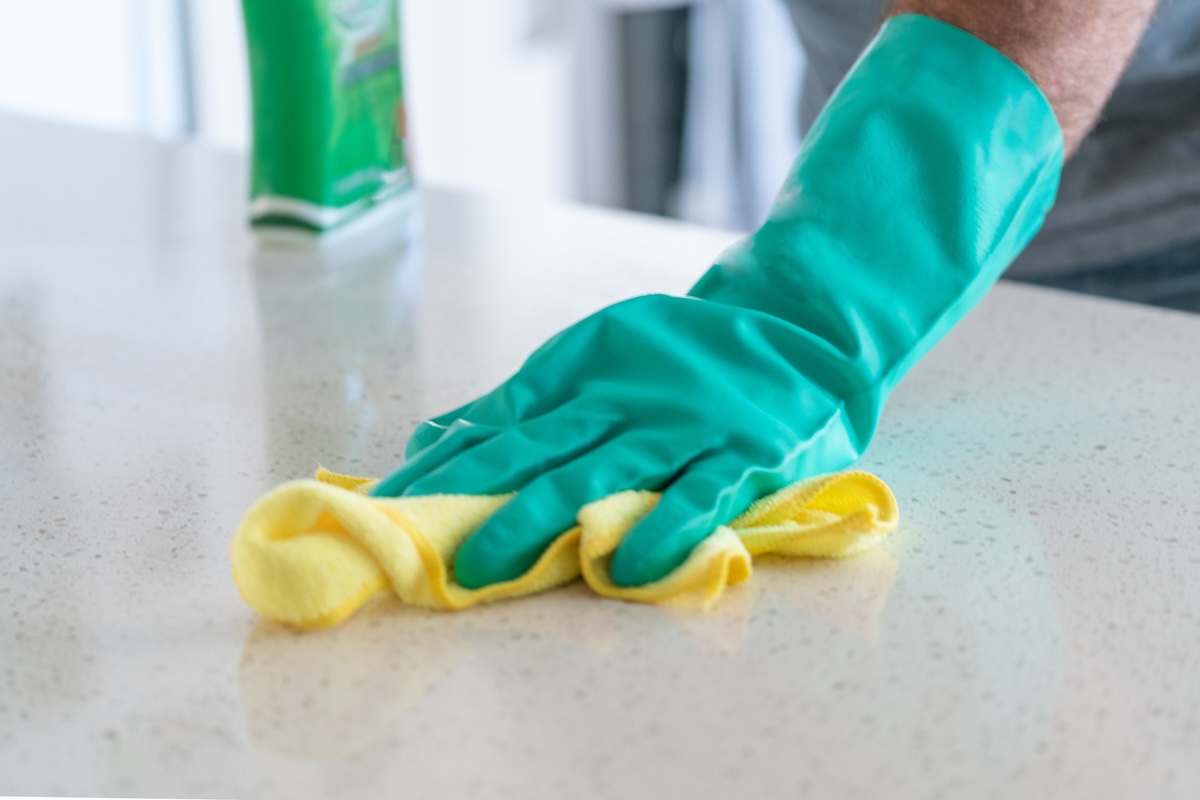
2. Clean and Dry the Surface
Use a degreasing cleaner to thoroughly wipe down your counters. Let them dry completely before applying the paper to ensure proper adhesion.
3. Line Up the Pattern (if needed)
If you’re using contact paper with a repeating design, plan your cuts so the pattern aligns cleanly across sections.
4. Apply Slowly, and Smooth as You Go
Peel back a small corner of the backing and stick the contact paper in place. Slowly work your way across the surface, peeling off more backing as you go and smoothing it with a credit card or plastic scraper to remove air bubbles.
5. Wrap and Trim the Edges
Use a utility knife or sharp scissors to trim any excess. Fold the paper neatly around the edges or corners, using a hairdryer to soften the adhesive and help it mold to curves or uneven spots.
6. Final Touches
Go over the surface with your smoothing tool one more time, checking for bubbles or edges that need extra pressure. A hairdryer can also help seal seams and finish off the application.
Contact Paper Countertop Maintenance Tips
While contact paper is fairly low-maintenance, a few routine habits can help extend its lifespan and keep it looking fresh. Always check the manufacturer’s instructions, but most products hold up well to gentle, everyday cleaning.
- Wipe regularly with a soft cloth and mild soap. Avoid abrasive sponges or harsh chemicals that could scratch or lift the surface.
- Use cutting boards and trivets. Don’t cut directly on the surface or place hot pans on it, even if the paper is heat resistant.
- Dry spills quickly. Although most contact paper is water-resistant, standing water can weaken the adhesive over time.
- Patch peeling areas. If a seam starts to lift or tear, trim a new piece of contact paper and apply it like a patch.
- Avoid heavy scrubbing. Gentle pressure is usually enough to keep the surface clean without damaging the finish.
These simple steps can help your contact paper countertop look its best for as long as possible.
When it comes time to remove the contact paper, you might simply be able to start at the edge and peel it away. If it’s still sticking, use a blow dryer to heat the surface and loosen the adhesive.

This Is the Year for a Kitchen Renovation